
Redirect visitors and track workflow actions
1. Add a redirect
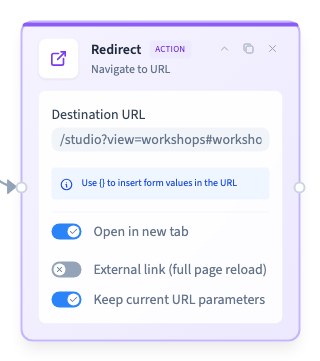
Open the workflow on an element. Choose Add node > Actions > Redirect and enter a page address in Destination URL, such as /studio. Join the trigger’s output to the action’s input. For a simple link with no other workflow steps, you can also set the destination directly on the element.
See also Build your first visual workflow.
2. Choose the navigation options
Enable Open in new tab when the visitor should keep the original page open. External link (full page reload) requests a full document navigation, including for an internal path. Keep current URL parameters carries parameters from the starting address. Keep only parameters that the destination needs. Avoid putting contact information or credentials in a URL.
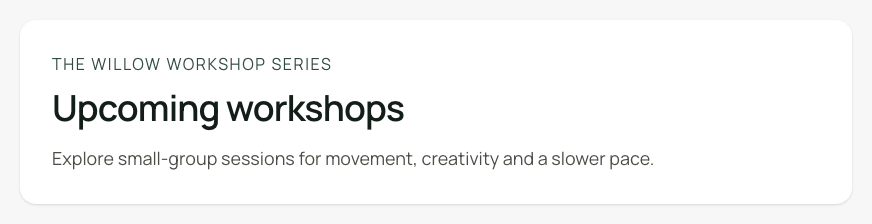
Use a section ID for an anchor, such as #workshops. The Willow example combines a starting campaign parameter with the destination /studio?view=workshops#workshops. Give the parameters distinct names and check the full destination in a visitor session.
Could not play. Try the video controls.
3. Check both tabs and the destination
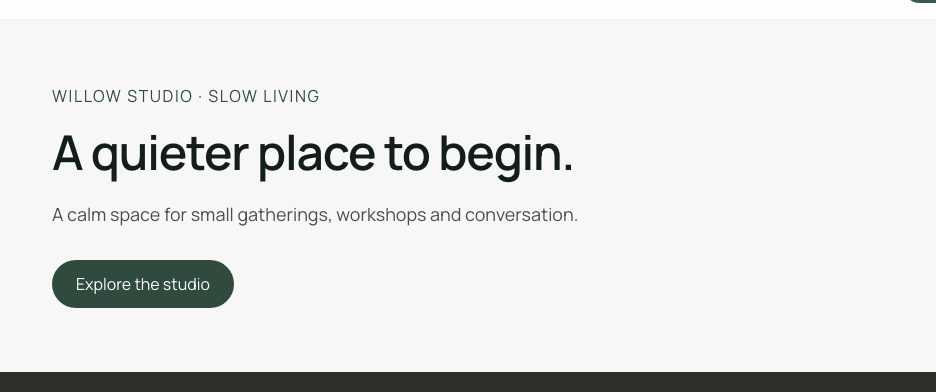
Save the graph, reload the builder to confirm the settings and publish the site. Click the button as a visitor and check the path, query parameters and anchor. Confirm the original tab stays on the starting page. The builder preview can simulate a redirect, so verify the actual navigation on the published site.
Could not play. Try the video controls.
Could not play. Try the video controls.
4. Pass a form choice when needed
For a redirect linked to Form Submit, use the field’s technical name in a placeholder such as {{choice}}. Choose a destination such as /studio?interest={{choice}}. Test an actual submission and inspect the result, particularly if a value can contain spaces or punctuation. Check the form’s storage destination separately.
5. Track a goal in site statistics
Enable site analytics. Add Actions > Track Goal to the relevant workflow, give the goal a stable name and optionally enter a tracking value. Connect the node, save and publish. Test a click in a visitor session and check the corresponding goal and period in analytics. A tracking value measures an event and does not charge the visitor.
See also Workflow nodes and their availability.