
Choose, replace and crop an image
A photograph sets the tone of your page. Choose the subject first, then its place: showing the whole photo and filling a frame can reveal different details.
1. Select the right image
Open the page in Design, switch to Expert and select the photograph. This gives access to visual settings. If the click selects its container, find the image in Layers.
The Image group applies to an image element. A photograph used as a background has background settings instead. For a CMS-bound image, change the content or its binding rather than replacing every repeated image with one fixed value.
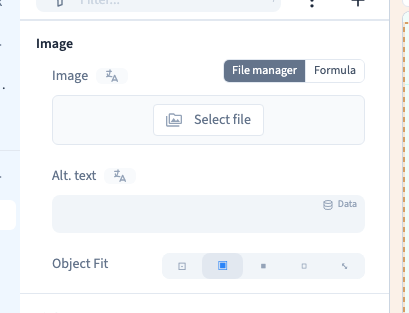
2. Import or choose a file
In Image, choose File manager, then Change file or Select a file, depending on the current source. The project library opens.
Click upload, choose a photograph from your computer and wait for it to appear. In grid view, click the photograph to use. You can also replace an image with a file already in the library without uploading it again.
Prepare an image suited to its display size and make sure you have the right to use it. Large files slow loading; enlarging a small file does not add detail.
Could not play. Try the video controls.

3. Choose how it fits
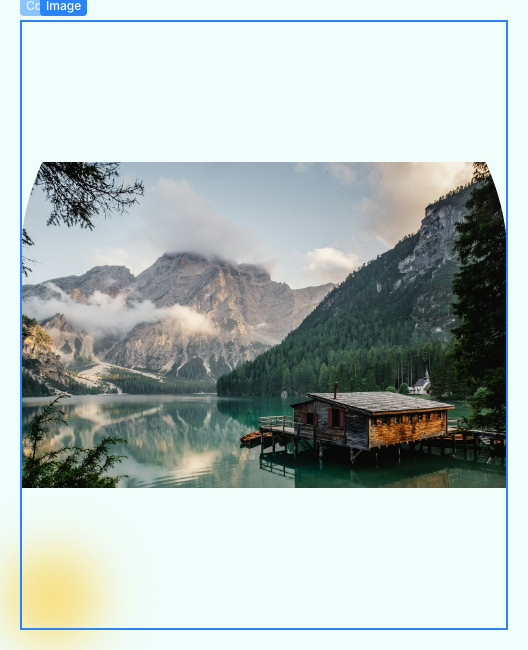
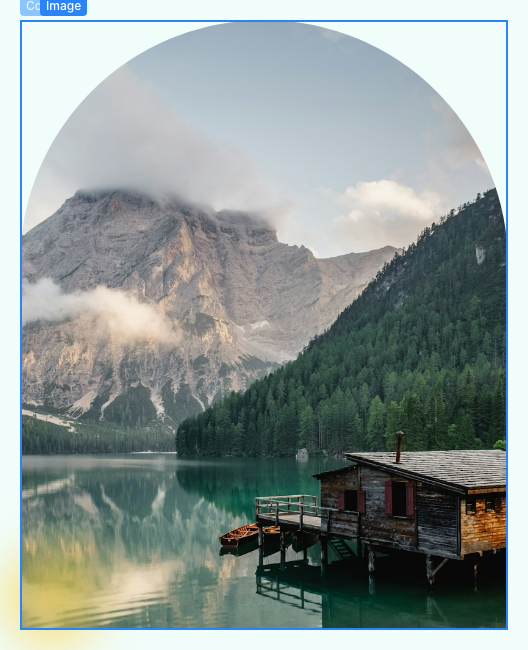
In Object fit, compare Contain and Cover in the page preview.
- Contain shows the entire image inside its frame. Empty space may remain when the proportions differ.
- Cover fills the frame. The edges of the photograph may be cropped.
- Fill follows the frame dimensions and can distort an image with different proportions.
- None keeps the photograph's natural size; part of it may fall outside the visible area.
- Scale down keeps its natural size or reduces it to fit, according to the available space.
This changes the display without cutting the original file. Contain and Cover look different when the frame and photograph have different proportions. The demonstration uses a frame with a defined height. When image height is automatic, the two choices may look identical.
Keep faces, products and important details visible. Check the element's dimensions too if the space reserved for the image is unsuitable.
4. Add alternative text
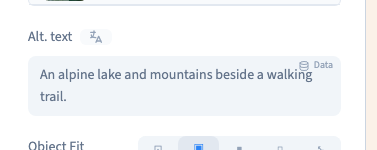
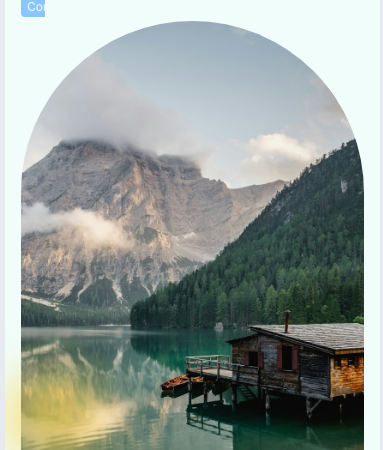
In Alt text, briefly describe useful information. For example: “An alpine lake and mountains beside a walking trail.” This helps people who cannot see the image and can appear when the file fails to load.
Describe what helps someone understand the page. Avoid keyword lists and unrelated details. A purely decorative image can have empty alternative text. For a clickable image, its description should help explain the destination.
5. Check on a phone
Choose a mobile frame and inspect the photograph's subject. A narrow frame can crop more of the sides with Cover. Compare Contain again if needed.
You can also compare screen sizes side by side. If you change the height for a particular screen, use a screen rule and check its scope.
6. Save and check the site
Save, reload the page and check the settings. Then check your published preview: the photograph should load, remain readable and fit the screen on desktop and phone.
Replacing this element's photograph does not replace every other use of the same file. Check where an asset is used before deleting it from the library.