
Build your first visual workflow
1. Open the workflow from an element
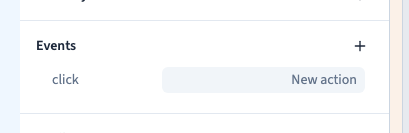
In Design, choose Expert and select a button. Add a click event in Events and open the new row. The Workflow tab contains the graph. Open Block context when you need the block’s variables.
Could not play. Try the video controls.
2. Add a connected step
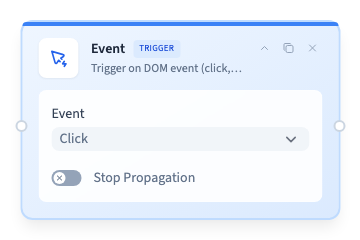
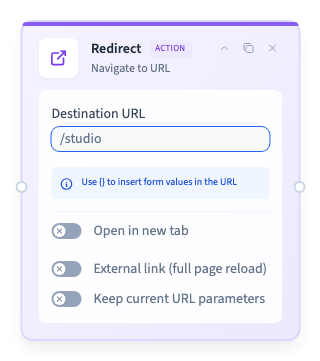
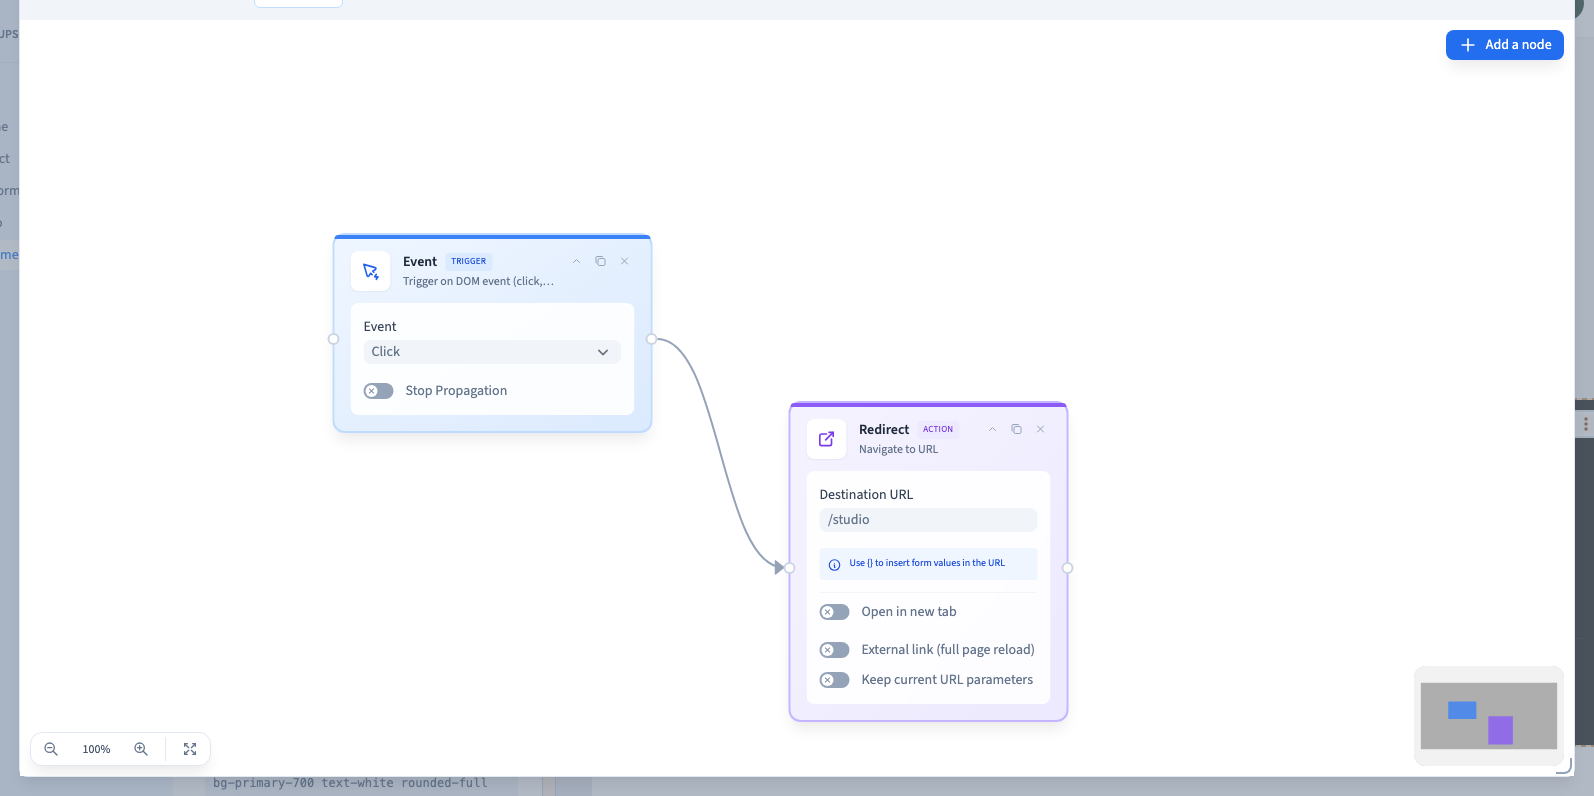
Each card is one step. The Event node starts the workflow. Open Add node > Actions > Redirect, set the destination URL to /studio, and drag from the trigger’s output handle to the redirect’s input handle. Follow the line to read the order of execution. Move cards to make the graph easier to read, and use the zoom and fit controls to see more of it.
Could not play. Try the video controls.
3. Save and test the outcome
Close the workflow and save the design. Reopen it after reloading and check the URL and connection. Publish and open the site as a visitor. Click Explore the studio and verify that the studio page opens. Repeat with a narrow viewport. The builder can simulate a redirect, so use the published page to verify the actual result.
Could not play. Try the video controls.
4. Keep later workflows easy to check
Start with a trigger and one outcome you can observe. Give the workflow a name that describes that outcome. Check the remaining connections if you remove a step. A redirect runs in the visitor’s browser. Actions that write to a collection also need the appropriate server settings and permissions.
See also Add an event to an element.