Add an event to an element
1. Select the element and add an event
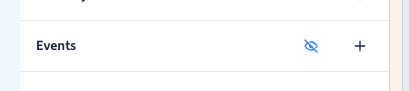
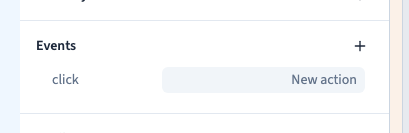
In Design, switch to Expert and select the element that visitors interact with. In Willow Studio the element is the Explore the studio button. Open Events, add a click event, then open the workflow from its new row. The selected element determines where the event applies.
Could not play. Try the video controls.
2. Choose the visitor gesture
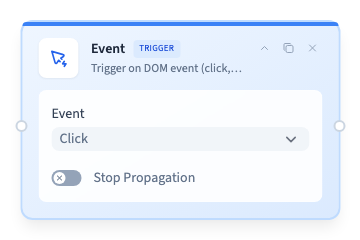
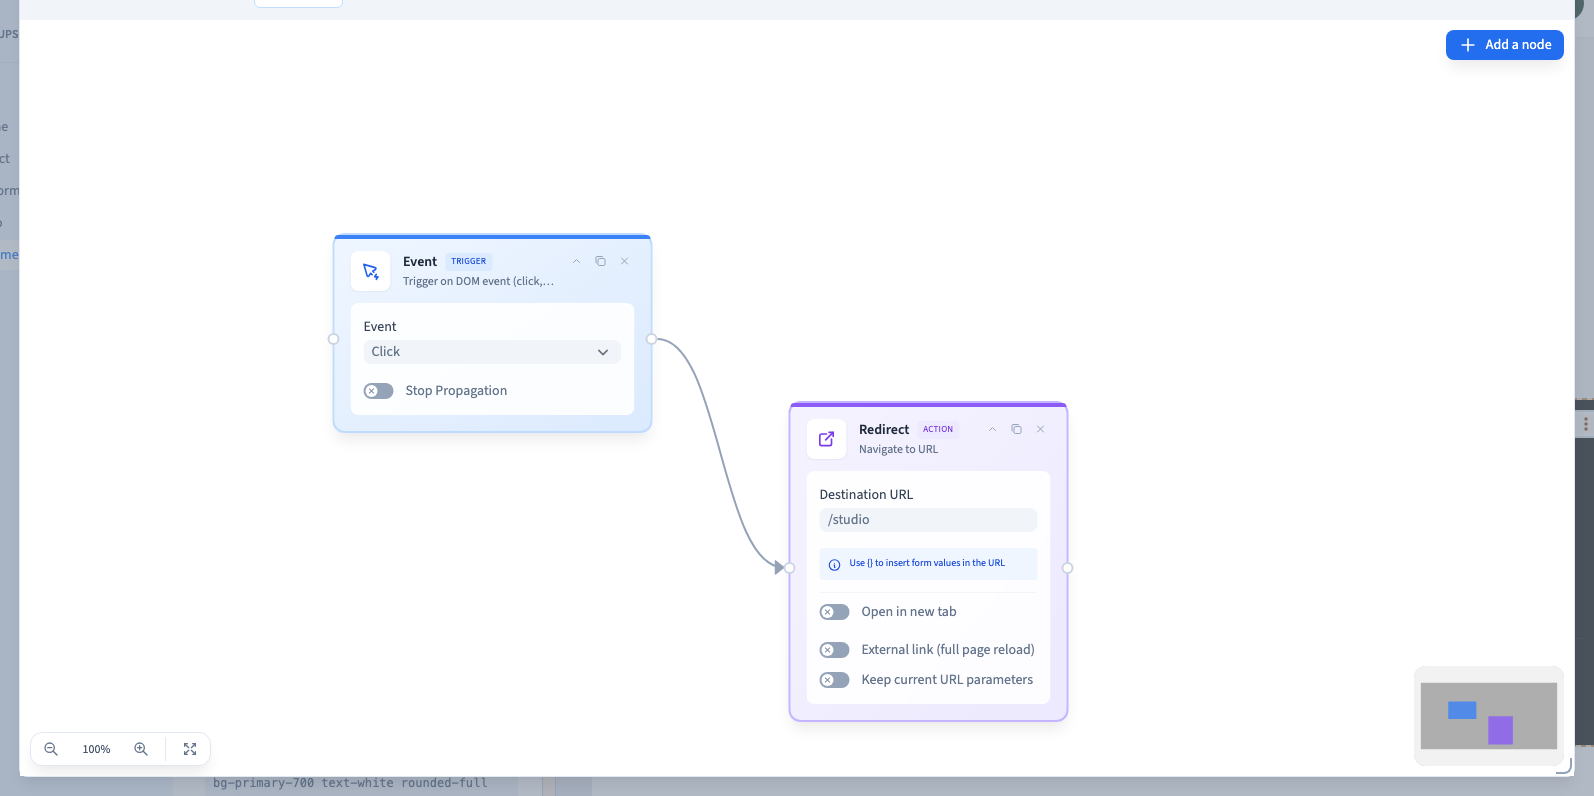
The first node is the Event trigger. A button offers choices including Click, Hover, Focus and Visible. Other elements, such as form fields, can offer different triggers. For an action that must work on touchscreens, use a click or another gesture visitors can perform on mobile.
Stop propagation keeps the same event from reaching ancestor elements. Use it when a parent action would otherwise run. For a form event, Prevent Default controls the browser’s normal behaviour for the event. Choose the submission destination separately in the form settings.
3. Connect an action and test the published result
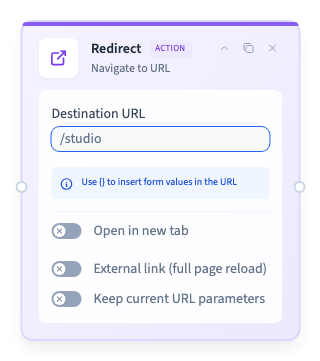
Open Add node > Actions > Redirect. In the destination URL field, enter an existing page address, such as /studio. Join the trigger’s output handle to the action’s input and check the connecting line.
Close the workflow and save. Reload the builder to confirm the line and destination remain. Some actions are simulated in the builder preview. Publish and click the button in a visitor session to confirm it really opens the destination on desktop and mobile.
Could not play. Try the video controls.
Could not play. Try the video controls.
See also Build your first visual workflow.
4. Remove the event or undo the change
Hover over the event row and use its remove control to detach it from the selected element. To restore the attachment, choose Undo in the builder toolbar. Save when you have the intended setup and test the published button again.
Could not play. Try the video controls.