
Create your first project
Your first goal is to get a site you can edit. You can then choose the text, images and settings that suit your business. Creating a project does not publish your site.
Could not play. Try the video controls.
1. Choose your starting point
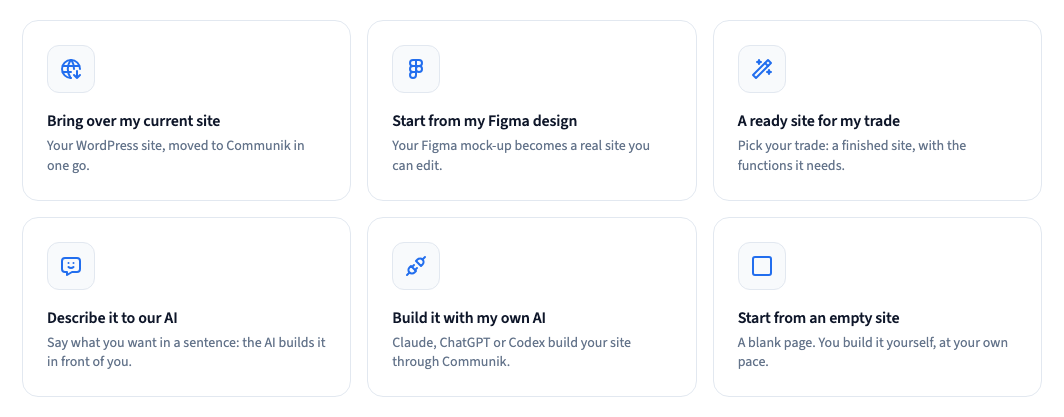
In Your projects, click Create a new project. Choose the method that matches what you already have.
| What you have | Method to choose |
|---|---|
| A business and a need for a ready-made starting point | A site ready for your business |
| A clear idea you can describe | Describe it to our AI |
| A WordPress site to transfer | Bring over your current site |
| An AI assistant already connected to Communik | Build it with your AI |
| A preference for building each page yourself | Start with an empty site |
A business template is a useful place to start: it gives you pages and features suited to your activity. You can change them after creating the project.
The demonstration for this method should take you all the way to the site open in the builder. AI writing is a separate step that needs your business information.
2. Choose your business and appearance
Select your activity, then the language of your site. This controls the content of the new site. The language of the builder's buttons is a separate setting.
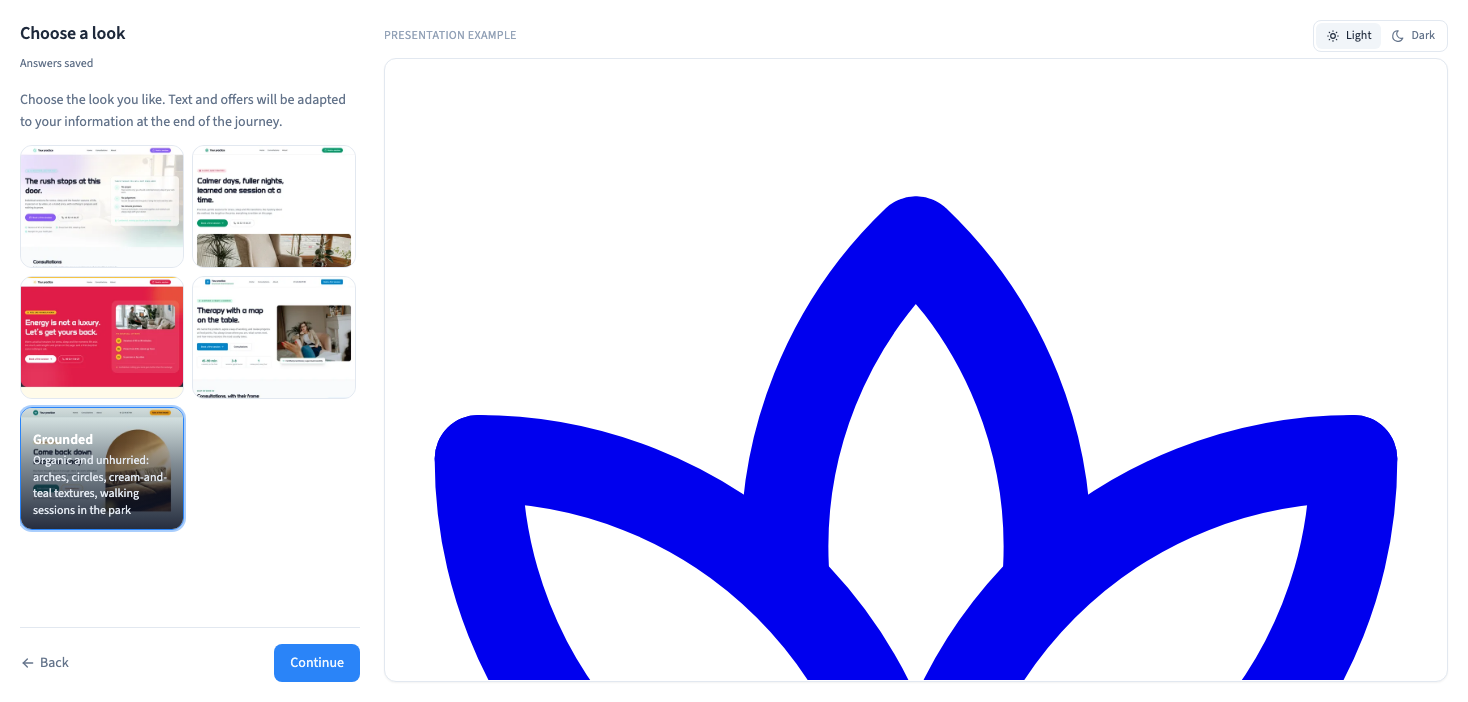
Click Continue. Choose an appearance and look at the preview beside it. Compare the layout, spacing and use of images. This is a starting point: you can change the colours, fonts and content later.
If the preview is still being prepared, wait for it to finish before judging the result. The site shown should match your selected option.
3. Set the style and options
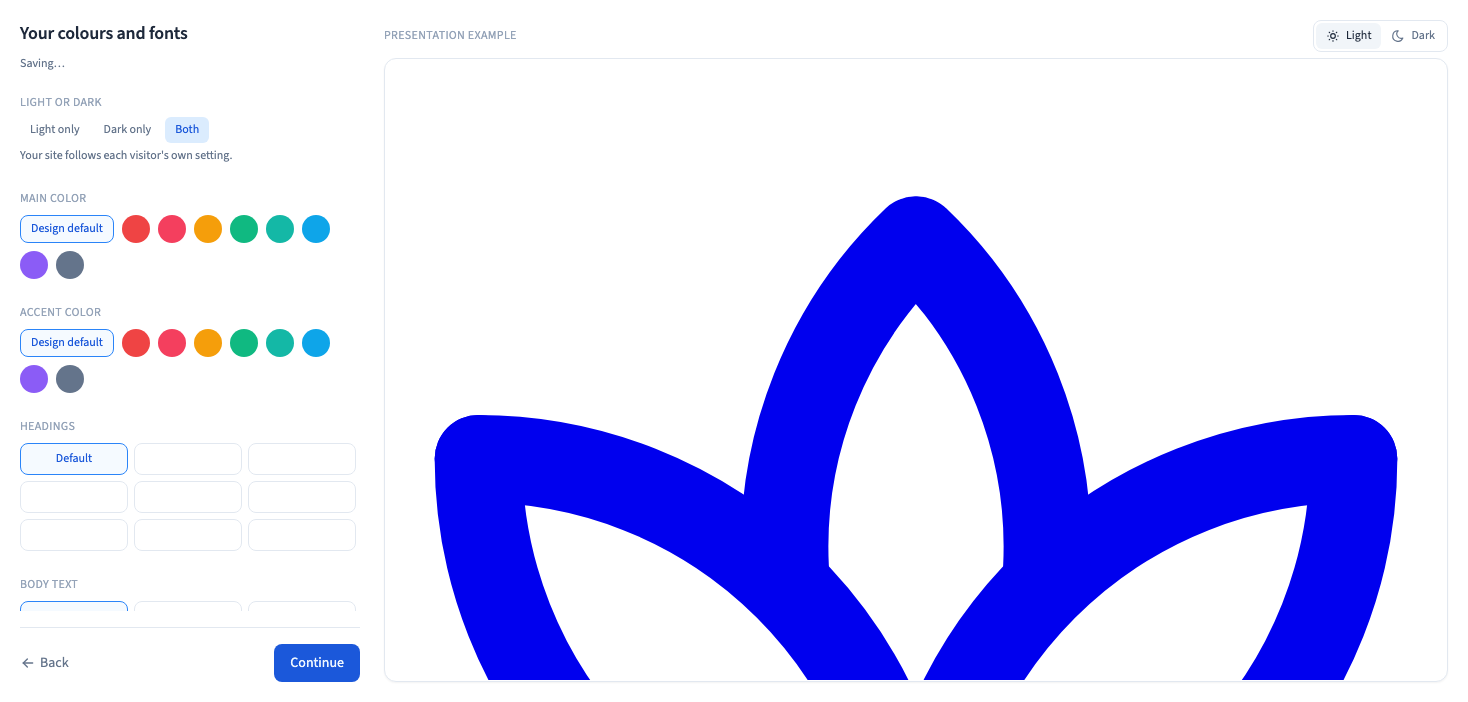
At the Style step, choose your colours, fonts and the available light or dark appearance. Check the preview, then continue.
At Options, add only the features you need now. Some options install pages or an application. Read their descriptions before selecting them; you can add more later.
You do not need to know CSS or configure every advanced setting to create the project.
4. Name and create the project
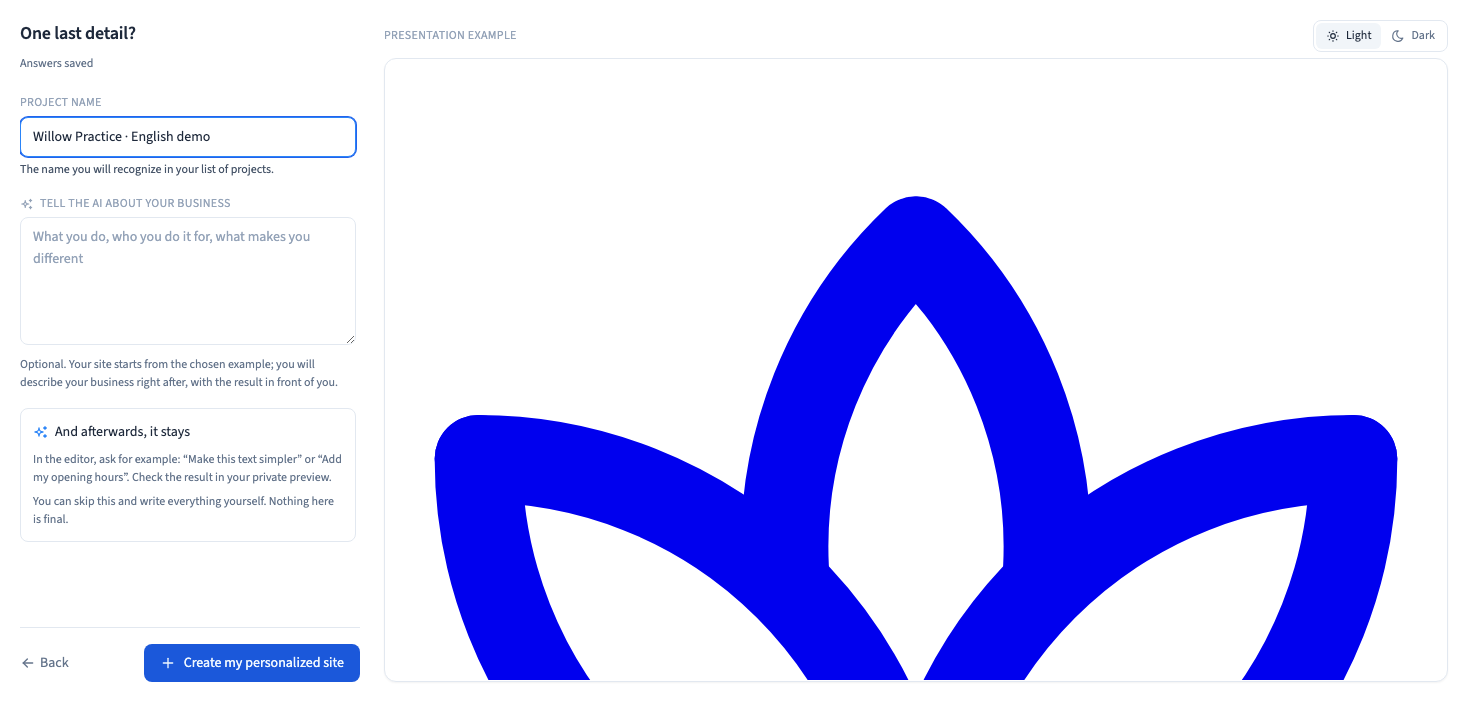
In the Summary, give the project a name you will recognise. If you add a description, be specific about your activity, audience, location and the action you want visitors to take.
For example: “A Pilates studio in Bordeaux, offering small-group and individual classes. Visitors should be able to request an introductory session.” Avoid figures, guarantees or services that do not reflect your business.
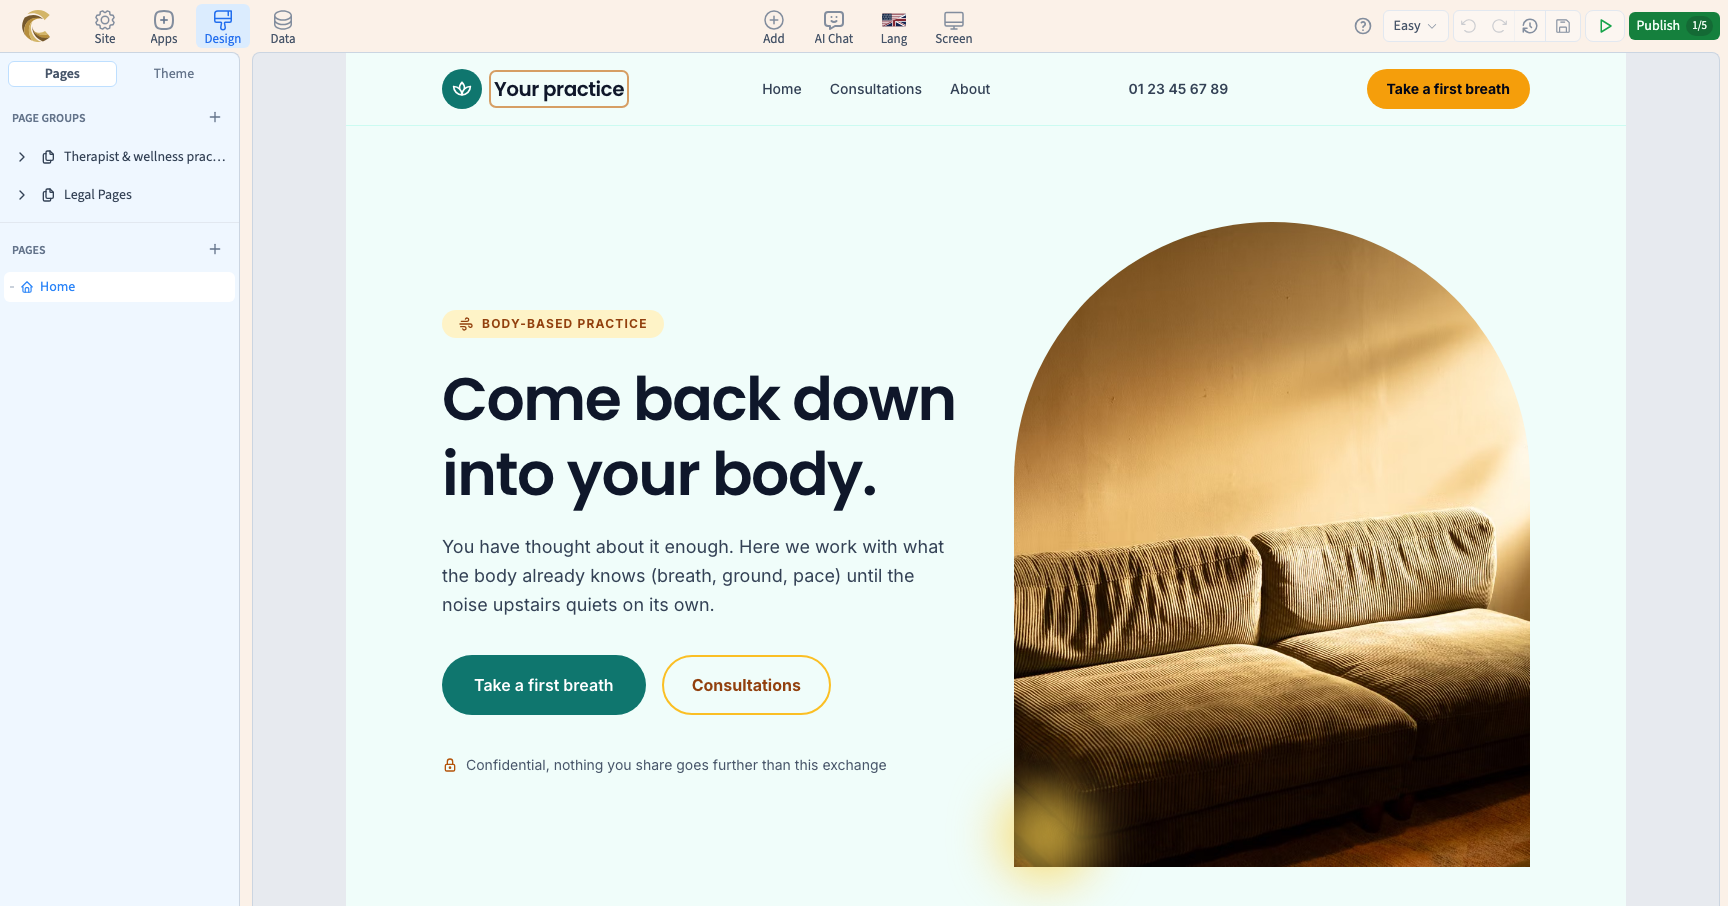
Confirm creation. The site opens in the builder. A template still contains example content: having pages does not mean their text is already about your business.
5. Complete your information and review the site
Open Publish to find the Go live checklist. It helps you complete your information, write your pages, review the site, choose an address and publish. Start with your business details and contact information.
AI writing is a separate step. It uses the information you provide and may take some time. Follow its status in the panel. If it fails, read the message and resume using the information already saved. Always review the generated text. You can also replace the example content yourself.
Before sharing the site, check at least the name, contact details, services, buttons, images and mobile layout. Reload the project to check that your work is still there.
Continue
Personalise your business details and content
Bring in information from an existing site