
Create and test a form
1. Add and select the form
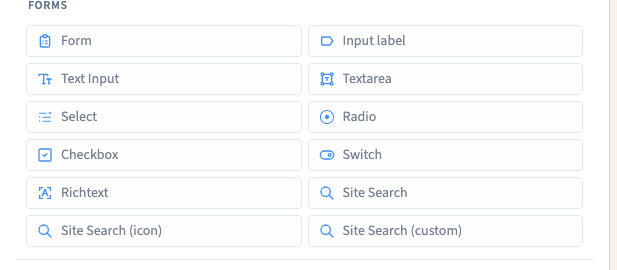
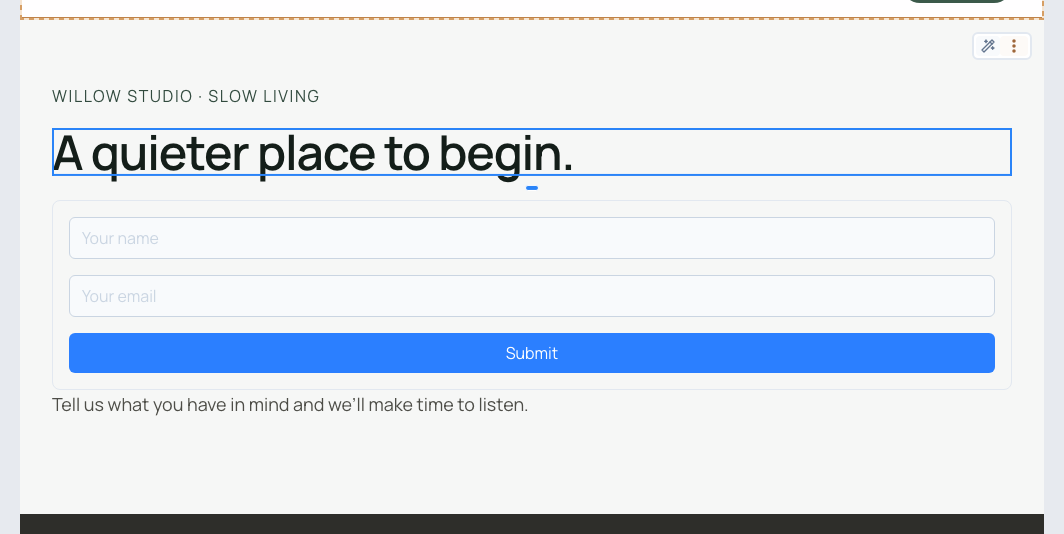
In Design, select an element in the section where the form belongs. Open Add > Elements and choose Form. The builder inserts the form after the selected element. Select the form itself to open its settings. If the builder selects a field or a button inside the form, select its parent in Layers.
Could not play. Try the video controls.
2. Add a required question
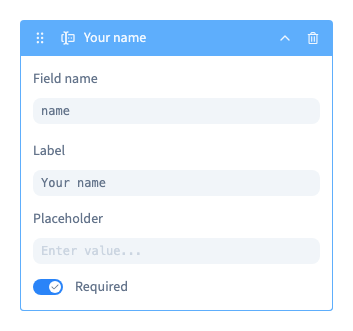
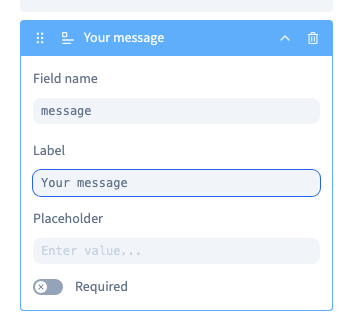
Under Fields, choose Add field > Text field for a short answer, or Textarea field for a longer one. Open the new field and give it a visible Label, such as Your name, and a stable Field name, such as name. Use a different name for each answer. Turn on Required only for answers you need.
You can choose the same field type again to add another question. A placeholder can give visitors an example, while the label tells them what the field is for. Naming a text field email by itself does not validate an email address.
Could not play. Try the video controls.
3. Offer choices or split a longer form into steps
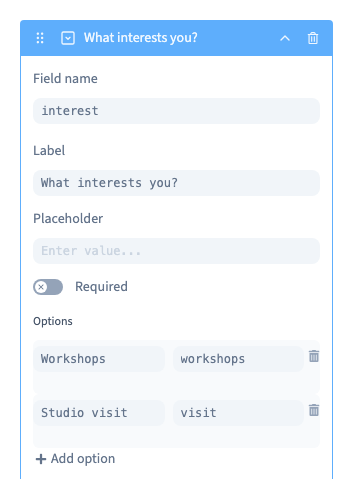
Choose Select field for a dropdown. Add each choice with Add option. The label is what the visitor reads and the value is what Communik stores. Use distinct values, such as workshops and visit.
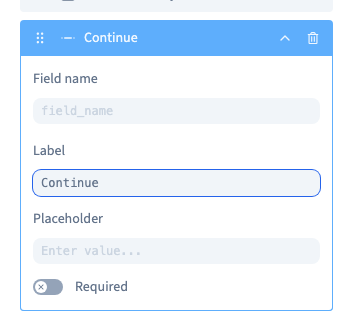
Add a Form break between two groups of questions. Name its button Continue, or use a label that fits the next step. Add at least one field after the break. In the private preview, move forward, choose Previous, and check that answers remain in place. Then submit and check the stored choice and text. Keep a short contact form on one step.
Could not play. Try the video controls.
4. Set the messages and check the result
Choose a Submit label that describes the action. Use Success to say what happened, such as Thanks! Your message has been saved. Give the visitor a way forward in Error, such as asking them to try again.
Choose a destination under Submit to. Save the design, publish to the private preview and submit fictitious data. Try leaving a required answer blank before submitting a complete response. If the destination is Received requests (email), look for the saved answers in Site settings. If it is Collection (CMS), check the destination collection in Data.
See also Find and manage received requests.