
Upload, find and organise site files
1. Open the library and choose a place for the file
Open the project’s file library. Choose the folder where the file belongs. Give files descriptive names so they are easier to distinguish next to other versions.
2. Upload an image
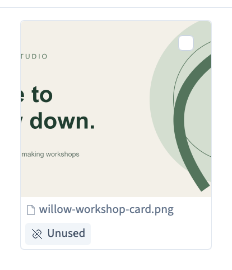
Drop a file into the upload area or use or click to upload and choose it from your computer. Wait for the file to appear and check the thumbnail. If an upload is rejected, read the message and confirm the file type, size and storage available.
Could not play. Try the video controls.

3. Find the image again
Use search when you know the filename. Use the grid to recognise the image and the list to compare file details. Before adding another copy, check whether an existing file already fits the page.
4. Review a file before replacing it
Open the file’s usage to see where it appears. Replace or remove references in the relevant content before deleting a file you no longer need.
See also Check where a site file is used before changing it.