
Set the project name, site icons and sharing image
1. Open the site identity controls
Go to Site > General. Use Project name to identify the project in your workspace. Set the public page titles where you edit each page’s search metadata.
2. Choose the icons
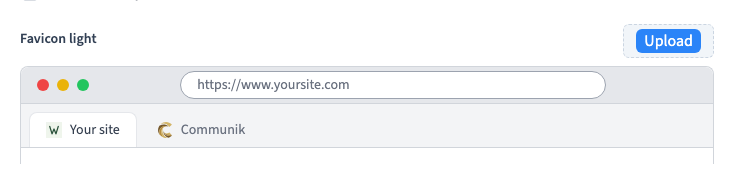
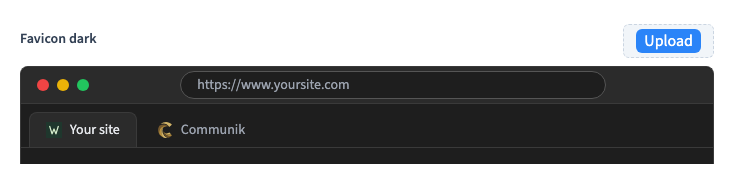
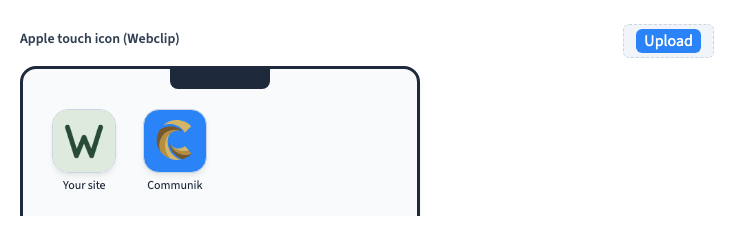
In Visual identity, upload a light and a dark favicon. Use the same simple mark with enough contrast for each browser theme. Add a square Apple touch icon (Webclip) for a saved mobile shortcut.
Could not play. Try the video controls.
3. Set the default sharing image
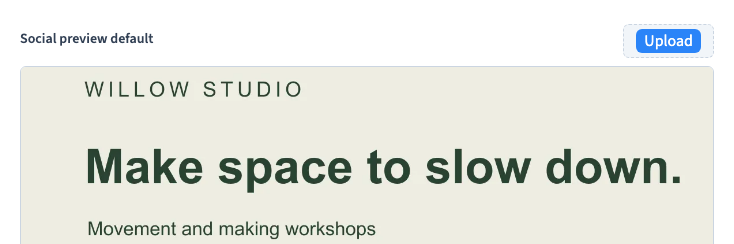
Upload a representative image under Social preview default. Use a wide image that remains clear when shown as a small preview. A page can set its own social image.
4. Generate and check the result
Wait for the uploads and saving to finish, then publish a test version. Open it in a fresh browser tab and check its icons and social preview metadata. When checking a public social network, allow for its own cached preview.