
Add custom fields to a module’s data
Some modules manage their own records, such as member profiles, clients or bookings. Extra fields enrich that data without creating a separate CMS collection. Each module has its own rules; this article demonstrates member profiles.
1. Decide what to ask
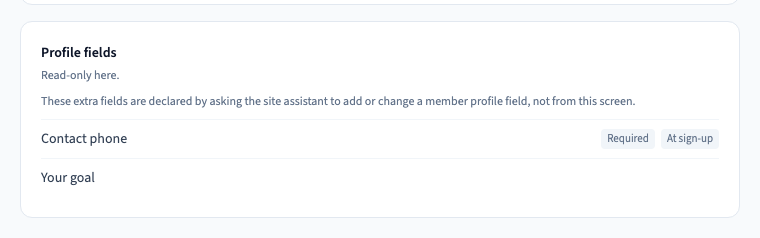
Request only useful information. Willow Studio asks for a required Contact phone at sign-up. Your goal is optional profile information and does not appear on the sign-up form.
A field has a stable key, such as contact_phone, and a visible label, such as Contact phone. You can improve a label while keeping the key. Changing the key identifies different information; existing saved values are not automatically renamed.
2. Declare fields through the assistant or MCP
Ask the site assistant: “Add a required contact phone to member profiles and ask for it at sign-up. Explain that the studio uses it to contact the member about their visit. Also add an optional goal with Discover the studio and Prepare a project as choices, without asking for it at sign-up. Preserve every existing field.”
Member profile fields are currently declared through the assistant or MCP. The settings panel displays them; it is not a complete form editor for creating them. The demonstration prepares the fields through the MCP and does not simulate an assistant conversation.
For integrations: replacing the complete field listmember_get_profile_fields reads the declaration. member_set_profile_fields replaces the entire list. Read the existing list first and preserve the fields you want to keep; sending only the new field does not append it to the old list.
3. Inspect the member settings
Open Members > Settings. Under Profile fields, inspect the labels and the Required and At sign-up markers. Reload the screen to check that the declaration persists. Ask the assistant to describe the configuration when you need the exact field types and choice options.
Supported member profile types include text, phone, email, URL, multiline text, select, checkbox, number and date. A select field needs its choices. Help text explains the answer expected; it does not replace the label.
Required controls the response constraint. At sign-up controls whether a new member sees that field while creating an account. Avoid demanding a hidden required answer that the visitor cannot provide; verify the actual module journey.
Could not play. Try the video controls.
4. Test the visitor form and stored profile
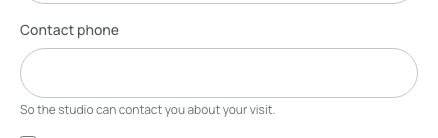
Save the declaration and publish the test site. Open the sign-up page in a visitor session. Contact phone should appear; Your goal should remain absent.
Use fictional data. First omit the required phone to check rejection, then supply it and complete a test registration. The server must enforce the requirement as well as the browser form.
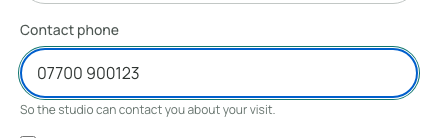
The checks verify real registration, the saved phone in the profile and cleanup of the test member. The video illustrates the phone field and entry gesture, not the entire registration. This isolated demonstration disables email verification so that no confirmation message is sent; it does not validate an email delivery service.
Could not play. Try the video controls.
5. Change or remove a field carefully
Ask the assistant to change a label, help text or choices while preserving the key and other fields. Check existing profiles and a new sign-up afterwards. If you change the type, also check compatibility with existing values.
Removing a field declaration is not a promise that every previously stored value is erased. If you need personal information deleted, inspect the affected profiles and the module's data behaviour as well.
6. Choose the appropriate data system
Use a CMS collection for articles, projects or a catalogue. Use a module's supported fields to enrich a record that module owns.
Member profile fields do not automatically become booking or client fields. Follow the relevant module's own journey before applying this example elsewhere.