
Change a section design
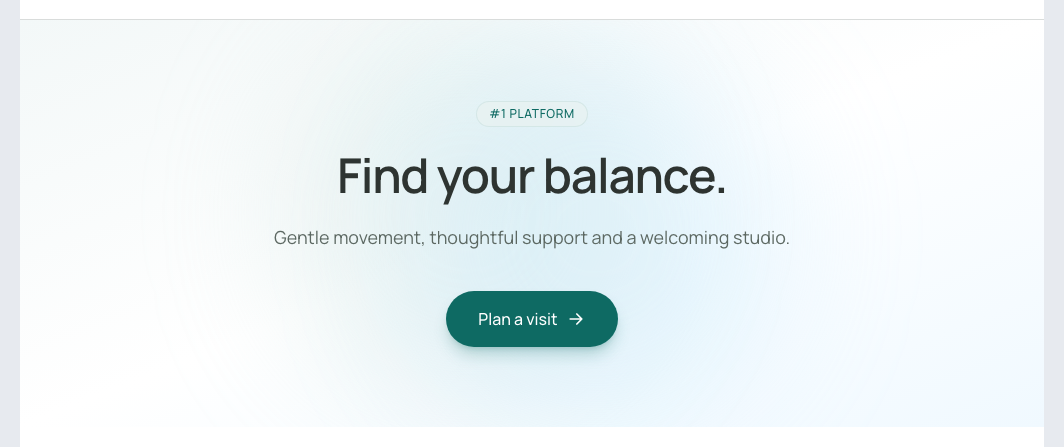
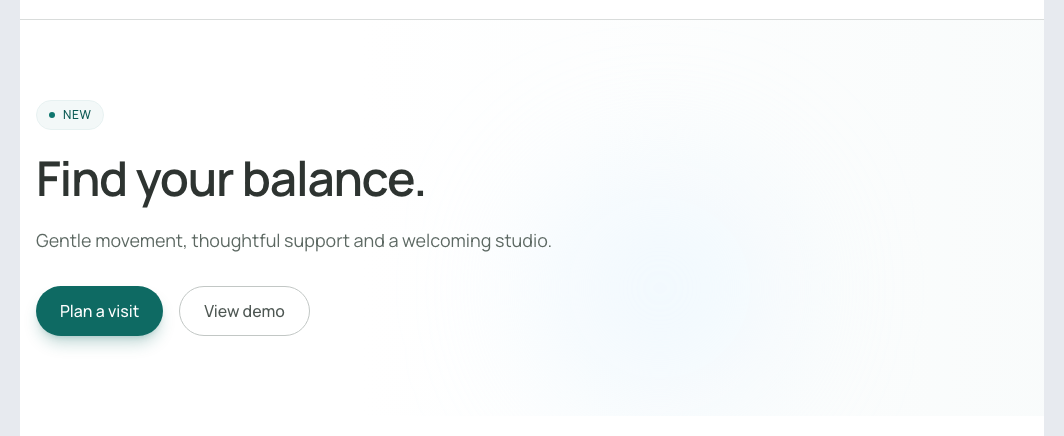
Changing a section design lets you try another composition while keeping recognised content. The example compares a centred introduction with a left-aligned version.
1. Check whether the section is supported
Hover over the section and open its actions. Switch design appears for recognised Hero introduction sections. It is not available for every free-form section or for every CMS listing.
If the command is absent, use the normal visual settings or add another section beside the existing one. Keep the original until its content and links have been transferred and checked.
For teams adding sections through the MCPIn the current version, a custom block name can prevent a catalogue Hero from being recognised by this command. Retain the catalogue block name when inserting it through the MCP, and personalise its visible heading and words separately. The demonstration keeps the catalogue name while using Willow Studio's own wording. This limitation is recorded for correction.
2. Read the compatibility information
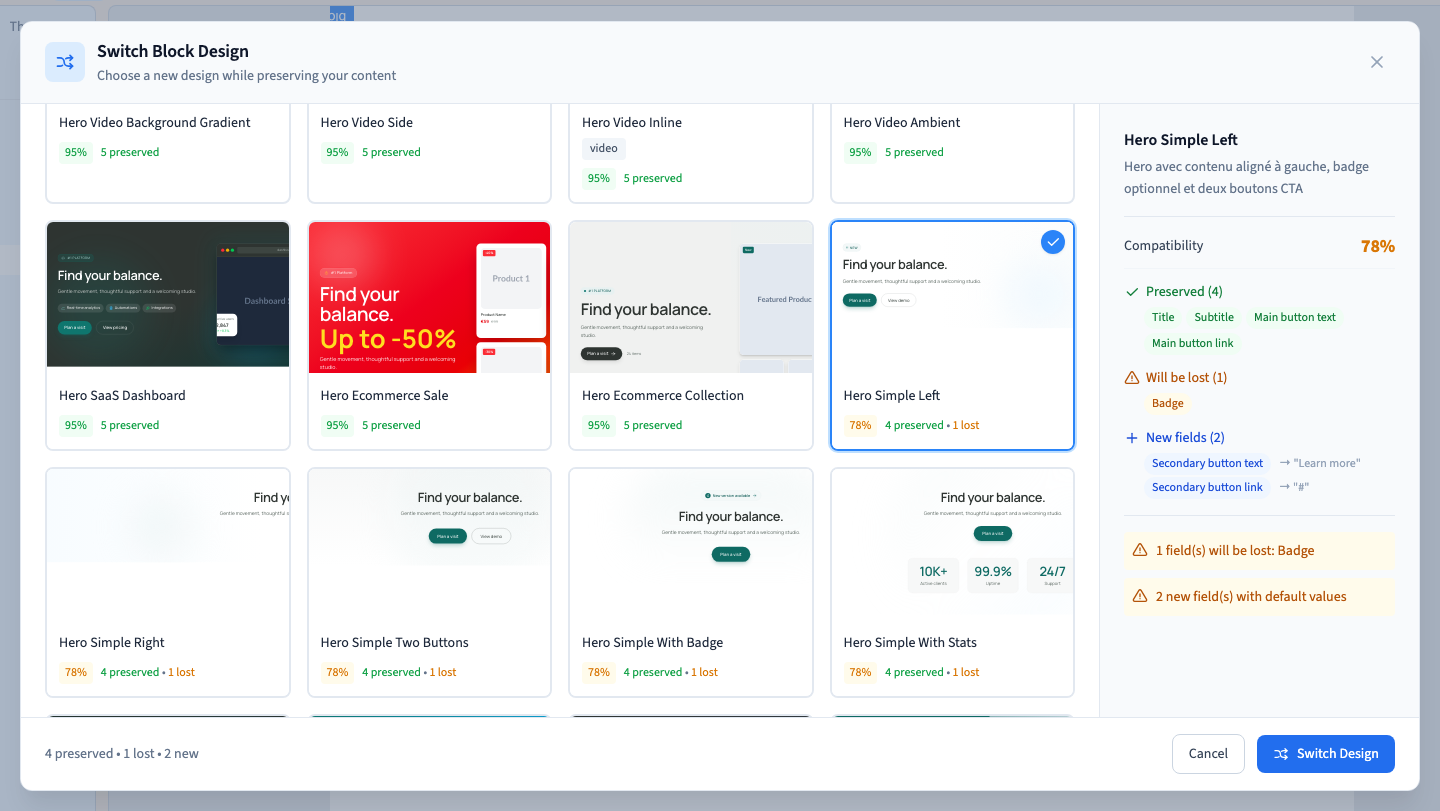
Open Switch design, inspect the suggested cards and read the details for your choice. Review preserved fields, fields that will be lost and any new fields supplied by the new layout.
The percentage measures content-field correspondence. It does not rate visual quality or certify the phone layout. Even a recommended layout can remove a field you need. A new field may contain example text that you must replace.
Roles such as heading, description, primary-button text, button destination and image help you identify what is affected. Read the detailed list before deciding.
3. Preview without keeping the change
Hover over the desired card and choose Preview. Inspect the composition with the section's content. Previewing is an opportunity to compare, rather than the final confirmation.
Choose Cancel to close the comparison and recover the initial section. The recording checks that cancellation preserves the editable design exactly, then reopens the comparison to make a deliberate choice.
Could not play. Try the video controls.
4. Confirm the replacement
Choose the appropriate layout, review preserved and lost fields, then select Switch Design at the bottom of the window.
Check headings, descriptions, button labels and destinations, images and any layout-specific fields. A different composition can legitimately omit a field that was flagged as lost. Accept that only when it suits your content.
The replacement rearranges the section. It does not promise to reproduce every appearance setting or manually added element. Finish the design using the visual controls and replace extra example content.
Could not play. Try the video controls.
5. Save and inspect each screen
Save and reload the builder. Check staging at desktop and phone widths, including readability, spacing and button destinations. Review every language used on the site.
Do not assume a CMS connection survives a switch designed for a different kind of section. For a connected listing, set up and verify the new associations before removing the original.
6. Return to the previous design
The toolbar's Undo returns from an applied replacement. Cancel inside the comparison simply closes an unconfirmed trial. They operate at different points in the process.
After returning, save and inspect the desired version. Republish it if visitors had already received the newer design.