
Use your own font
Already have a font for your brand? Import its file into the project, then select it like another font. No CSS class is needed.
Prepare a .woff2, .woff, .ttf or .otf file. The upload button lists the accepted formats. The example uses the regular Source Sans 3 WOFF2 file.
1. Open custom fonts
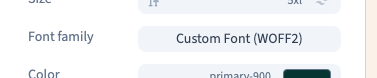
In Design, choose Expert and select the text. In Text, open Font family, then Custom.
Previously imported fonts remain available in the project. If the required file is already listed, select it directly; you do not need to upload it for every heading.

2. Import the file
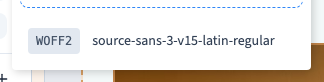
Choose Upload font files, select the file on your computer and wait for it to appear in the list. Uploading makes the font available; it does not yet apply it to the selected text.
Use a clear filename that identifies the family and weight. A regular file does not necessarily supply a separately drawn bold face, and importing several weights does not necessarily group them into one family automatically.
Could not play. Try the video controls.
3. Apply it to the text
Select the imported file. Watch the actual heading: the letter shapes change while the words remain the same. The recording applies Source Sans 3 to “Make space for yourself.” and checks that the font has loaded.
This affects the selected element. To define a common heading or body font across the site, use the theme's font controls instead.

4. Check and save
Check accents, special characters, line breaks and the weights used in your content. Compare a phone width, save and reload. Then publish to staging and check the page there: the custom font file must load for visitors too.
If the file is missing, check the extension and upload completion. If the letters look like a fallback font, check that the file loads, reopen Custom and select it again.