
Set the space inside an element
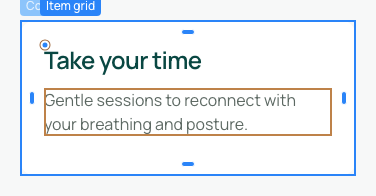
Padding creates space between an element's border and its content. Use it when text is too close to the edge of its card.
1. Select the element around the content
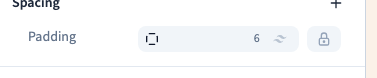
Select the card or section, rather than the text inside it. Use Layers to find this parent. In Expert → Spacing, open Padding, or add it with the group's + button.
2. Start with all four sides
Choose a common value for top, bottom, left and right. In the demonstration, preset 6 gives 1.5 rem, equivalent to 24 px with this site's reference font size. The content moves away from all four edges.
Padding belongs inside the element. When its width is constrained, large side padding leaves less room for content and can cause additional line breaks.
Could not play. Try the video controls.
3. Choose axes or individual sides
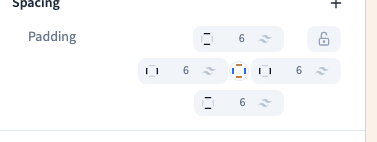
Use the grouping control to change from a shared setting to more specific values. Depending on the selected mode, you can control all sides together, left and right together, top and bottom together, or separate sides.
Look at the control's indicators before entering a value. Horizontal padding affects both horizontal sides; it is not an outside margin.
Changing the grouping transforms the displayed settings. Check the values and preview afterwards. Undo restores the previous state if you chose the wrong grouping.
4. Check narrow screens
Compare phone and desktop widths. If side padding leaves too little room for text, reduce the base value and increase it for larger screens with an appropriate rule. Changing the preview frame does not create this rule.
5. Remove a value
Removing a value affects its selected scope, allowing another rule to take over. Setting zero explicitly imposes no padding in that scope. These operations can produce different results.