
Set margins and centre a block
Margin creates space outside an element. It can separate a row of buttons from the text above, or a heading from the paragraph below.
1. Select the element to space
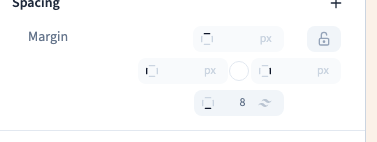
Select it in the preview or Layers, then open Expert → Spacing → Margin. Identify the side that should move away from its neighbour using the control's indicators.
2. Choose a value
Open the side's selector and choose a preset, or use the available numeric fields and units. In the English demonstration, the heading's bottom margin is set to 2 rem, equivalent to 32 px with the site's reference size.
Margin is outside the element. If text touches a card border, use Padding instead.
Could not play. Try the video controls.
3. Group the sides
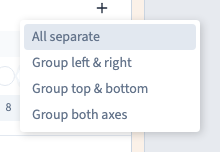
The grouping menu offers separate sides, left/right grouping, top/bottom grouping and both axes. Group sides when they should share a value. Inspect the displayed values and the preview after changing modes. Keep separate sides when their spaces should differ.
4. Centre a narrower block
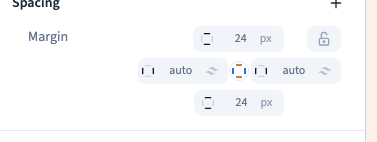
Automatic left and right margins can centre a block when it occupies less than the available width and its layout allows it. The demonstration sets Width → Fit, groups margins by axes and chooses auto horizontally. Text alignment inside the block is unchanged.
If the block already fills its parent, you may see no movement. Check its dimensions before increasing margin values. Use text alignment to centre text, and parent alignment when placing children in a Flex or Grid container.
5. Enter a negative margin
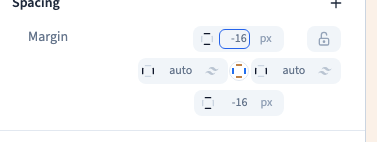
Open the presets for the side or axis. Click the active preset once to remove its value and reveal the numeric field. Check the grouping, choosing the axes again if needed. Enter the signed number and choose its unit in that control. Where offered, Manual value can also turn a preset into an editable number.
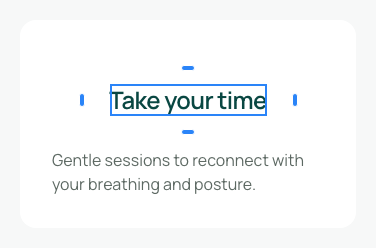
For example, -16 px on the vertical axis applies negative top and bottom margins. A positive 24 px changes them back to outside space. The minus sign belongs in the value itself.
Negative margins can pull an element towards or over a neighbour. Check all relevant widths. If the goal is deliberate overlap, consider positioning settings too; accumulating negative margins makes a layout harder to maintain.
6. Adapt or remove a margin
Use a screen rule for a distance that should change with width. Removing one value affects only its scope; a base value may become applicable again.
For an unexpected distance, inspect the neighbour's margin, the parent's padding and its gap. In normal flow, some vertical margins collapse together rather than add up.