
Add and configure a map
A map helps visitors locate a place. The demonstration uses a public location in London, rather than the address of a real studio.
1. Select the map
Add or select a Google Map element. In Expert, select its row in Layers if clicking inside the map would operate the external service instead.
Use the map element for an ordinary location map. A generic iframe has a source address but does not offer the same address and zoom controls.
2. Enter the location
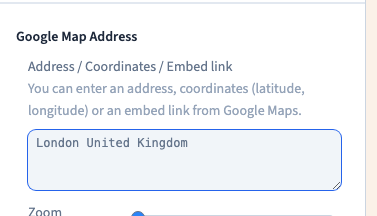
Replace Address with a precise address or public place. Wait for the map to update and check its marker. A place name that exists in several cities may need a city, region or country.
The recording enters London United Kingdom as a public example. Do not assume that a recognised address identifies the correct entrance or meeting point; check it as a visitor.
Could not play. Try the video controls.
3. Choose the zoom and map type
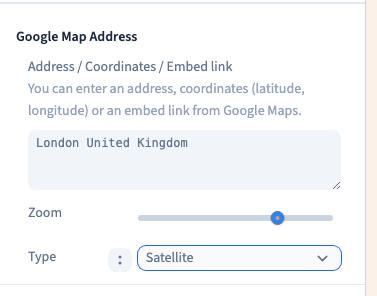
The zoom slider changes how much surrounding area is visible. A close view helps identify the building; a wider view gives useful landmarks and transport context.
Compare the road map, satellite, hybrid and terrain choices. The demonstration compares the types, then returns to the ordinary map. Choose the presentation that makes the location easiest to understand.
4. Set the dimensions
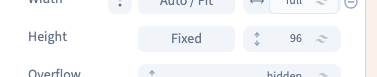
Adjust the map's width and height in Size. The example sets a 384 px height. Keep its width within the page's container and inspect the result on a phone.
A frame can fit a phone while its controls remain awkward to use. Test the actual map, not only its border.
5. Save and check the published page
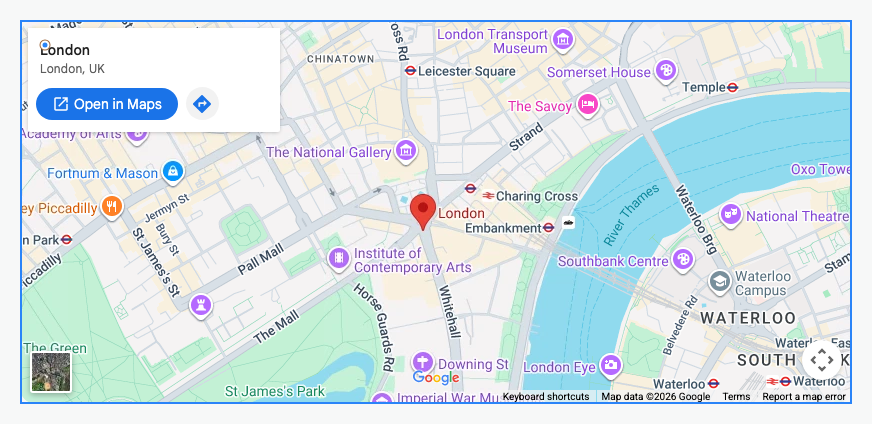
Save, reload and check the address. In staging, inspect desktop and phone widths and try the map's controls. Include the address in ordinary text as well, so the location remains available if the external service does not load.
If the map is blank, check the address, network access and consent settings. Its content is supplied by an external service; the builder's size controls do not alter that provider's own interface.