
Add a shadow and choose its colour
A shadow gives a card or button depth. It follows the element box and can extend beyond its edges.
1. Select the card and add a shadow
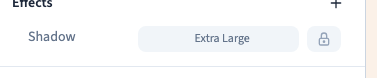
Select the container in Layers. In Expert → Effects, use the group's + to add Shadow. A starting shadow is applied. Inspect the whole card rather than just the setting row.
2. Compare presets
The selector offers different shadow strengths. Start with a restrained one and compare it against the page background. A no-shadow option lets you compare with a flat surface.
Choose another value to replace the current one. Clicking an already active value can remove it, so inspect the preview after each choice.
Could not play. Try the video controls.
3. Choose the shadow colour
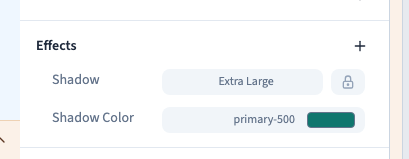
When a shadow exists, add Shadow color in Effects. Choose a theme colour or a shade suited to the background. Colour alone does not define the shadow's size: first check that a shadow exists if you see no result.
A shade close to the background is subtle. A dark or highly saturated shade attracts more attention. The demonstration compares a preset and a theme-coloured shadow on the same card.
4. Use custom values
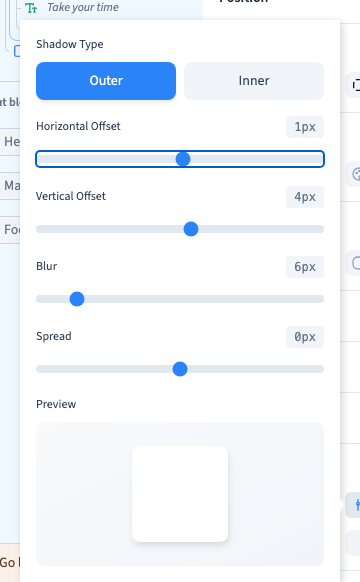
Switch to custom controls and open Custom Shadow. Sliders control horizontal offset, vertical offset, blur and spread. Offset changes the direction; blur softens the edge; spread increases or reduces the covered area.
The demonstration adjusts the horizontal offset with the slider and keyboard. Switching modes can replace existing values, so use Undo to recover an earlier experiment if needed.
5. Check space and readability
A shadow does not create space between cards; use parent layout and Gap for that. A parent that clips overflow may cut part of the shadow. Check that a shadow does not overwhelm a closely spaced mobile list. An element shadow does not add a shadow to text letters.
6. Remove the effect in the correct scope
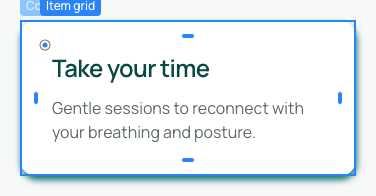
Remove the shadow on the intended condition line. A base value may take over after a screen or hover value is removed. Its colour can remain separately configured. Save and inspect the preview.