
Understand the settings for your selection
The settings panel applies to the selected target. Before changing a value, check what the outline surrounds: the text, an image, a button or the container holding them.
1. Select the right target
Switch to Expert and click the element in the preview. If elements overlap, use Layers to choose the right parent or child. An outline around a whole section does not mean you have selected its heading.
Could not play. Try the video controls.
2. Read the available groups
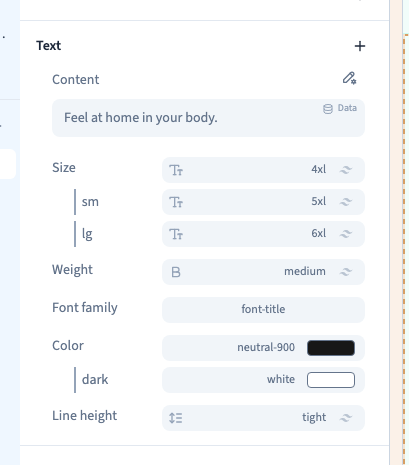
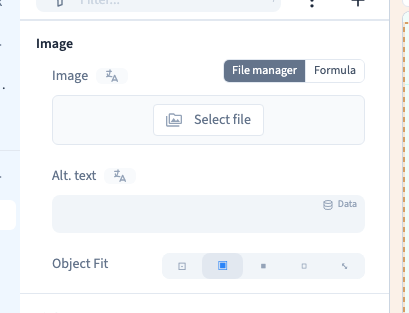
Groups such as Text, Layout, Spacing, Background and Visibility organise the controls. The groups and settings depend on the element type. Open the group you need; every target does not have every option.
3. Read existing values
A setting may show a base value and conditional rows, such as sm, lg and xl. These are rules, not separate content. Check which rule applies at the current frame width before deciding that a change has had no effect.
4. Find an option
Use Filter… to search for a setting. The filter menu can limit the list to a category or condition. A + button adds a relevant setting. A shorter filtered list does not mean the builder has lost its controls.
5. Choose between local and shared changes
A change on a selected element applies to that element or its source template, depending on its origin. Theme settings control the shared appearance. If the builder offers to edit an original or make a local copy, read the choice: their effects on other uses differ.
You edit content in the selected content language. Width conditions affect presentation; they do not make a separate copy of the text for each screen. Easy offers direct page actions, while Expert opens detailed visual settings without requiring code.